Create Project

Purpose

Used this feature to create any project that will be sent to production.

Prerequisites

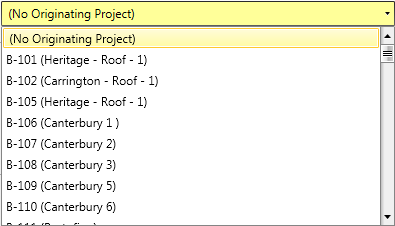
If creating a project from an originating project, an existing bid, project, or master project must already exist.

Steps

  1. From the main CS Director window, select Project List.
  2. Click Create Project.

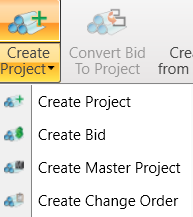
From this button, you can create a Project, Bid, Master Project, and Change Order.

  1. Complete the required fields and any additional fields that are needed.

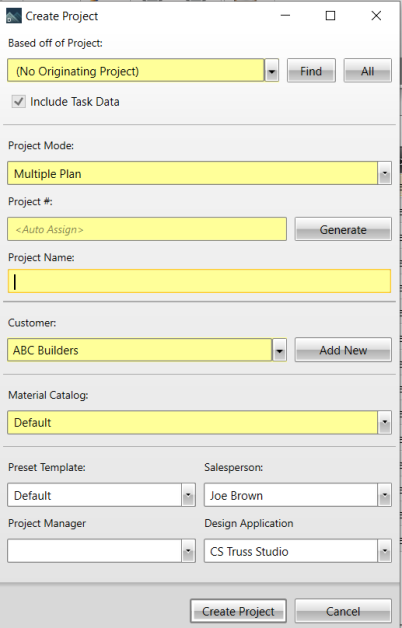
Required fields are highlighted in yellow.

  1. By default, the new project is not based on an originating project; however, an originating project can be selected from the list.

  1. Select Include Task Data to copy all task data to the project, including dates, assignees, notes. If this is unchecked, the task is saved, but not the task data.
  2. Project Mode is used to create projects in Single Plan Mode or Multiple Plan Mode; Single Plan is for projects that use only a single plan/elevation; Multiple Plan is for projects with more than one plan/elevation.

It is possible to convert a project from Single Plan to Multiple Plan, but it is not possible to convert a project from Multiple Plan to Single Plan.

  1. The Project # field has multiple options:

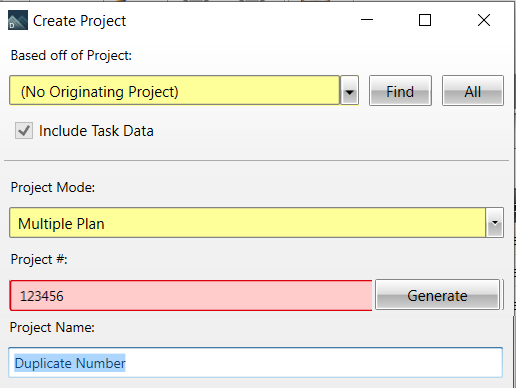
To define preset numbering, see Project Numbering Field Descriptions .

a.  Leave as <Auto Assign> and next project number is assigned and displayed in the Project Info > General > Project # field when the project is created.

b.  Add a number manually. The number is checked to confirm that it is unique. Unique numbers are assigned and the project is created.

c.  Click Generate to automatically generate the next project number and add a suffix, if desired.

Duplicate numbers will give a validation error. A unique number is required to create a project. Removing the duplicate number will return to the <Auto Assign> prompt.

  1. Project Name is required to create a project and can assist in locating a specific project from the project list. When you enter the first letter of a Project Name, a list of existing projects displays.
  2. Customer is automatically populated with the first customer in the database, organized alphabetically, or the default customer selected in Administration > Customers.

a.  You can select a different customer from the list.

b.  To add a new customer, click Add New.

For more information on adding a customer, see Administration - Company Information.

  1. Select a Material Catalog from the list to be assigned to the project.
  2. Select a Preset Template from the list.
  3. Select a Salesperson from the list.
  1. Select a Project Manager.
  2. Select a Salesperson.
  3. Click Create Project.
  4. Project View > General tab displays.

Note that you cannot change the Design Application option; Truss Studio is the only option avaiable.

Related Topics