New Group

Purpose

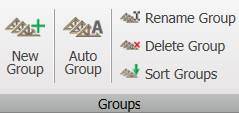
Use New Group to create a new grouping of components for cutting and fabrication.


Prerequisites

Before creating a group, a project must be created and that  project must be active.

Steps


Watch video

To add a new group:

1.  In the Project List window, select a project.

2.  Click Components.

3.  Click New Group.

4.  Enter Group Name.

5.  Select the New Group Location.

    • There are four new group location options. The selected option is retained and automatically selected when the Add Group window is reopened.
        • Top of List
          • The new group is positioned the first on the list.
        • Bottom of List
          • The new group is positioned last on the list.
        • Below Lowest Selected Group
          • The new group is positioned below the lowest selected group.
          • For this option, if a truss is selected, then that truss’s group is considered selected. 
        • Sort Order
          • The new group displays in the position that represents the sort order of the new group.
          • This option re-sorts all of the groups.

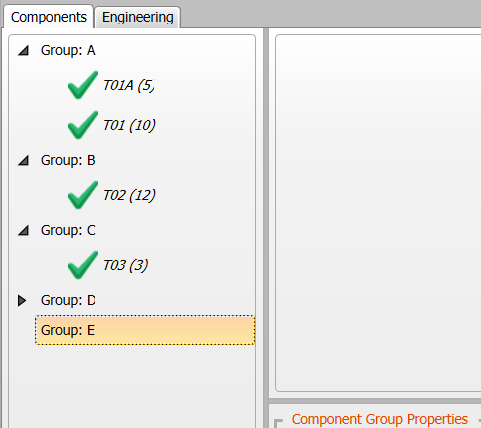
6.  Click OK.

The new group displays in the specified location.

Components may be reorganized by selecting one or more components and dragging them to the desired position within a group.

Related Topics