Purpose
Custom fields provide a way for you to create fields you want to display in property boxes, grids, and reports. Custom fields are available at the Project, Customer, and Plan/Elevation level.
Steps
1. Navigate to Administration > Custom Fields.
The Custom Fields workspace displays, with three tabs:
-
Customer
-
Project
-
Plan/Elevation
2. To add custom fields, click the Customer, Project, or Plan/Elevation tab.
-
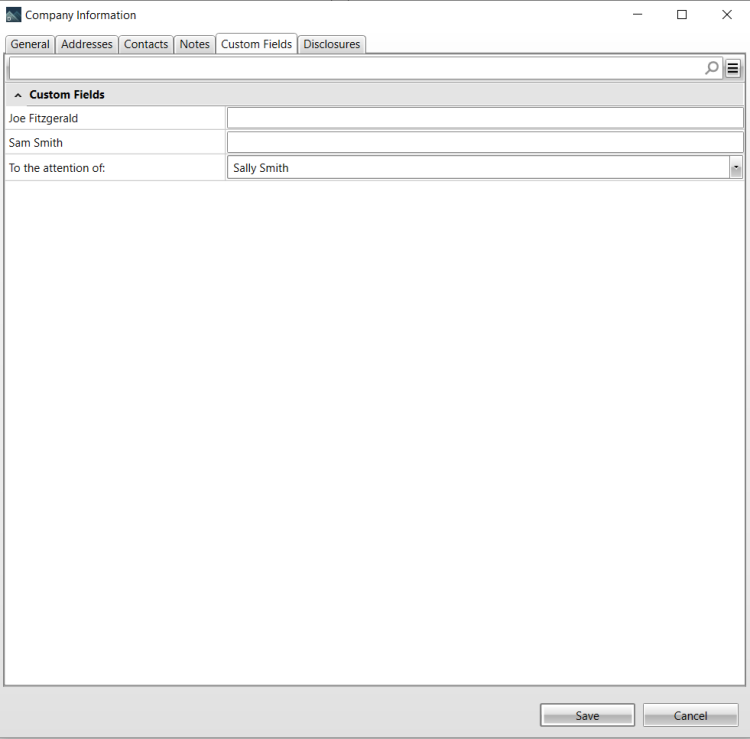
Customer - Custom Fields created on this tab appear on the Custom Fields tab for Companies in the Administration section.
-
Project - Custom Fields created on this tab appear in the Project Properties grid.
-
Plans/Elevation - Custom Fields created on this tab appear on the Plans/Elevations Properties grid.
3. Click Add Item on the toolbar.
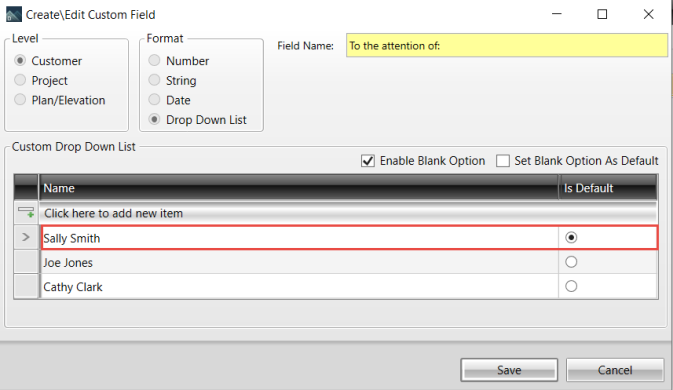
The Create\Edit Custom Field dialog displays. In the Level section, an option is already selected, based on the tab you chose.
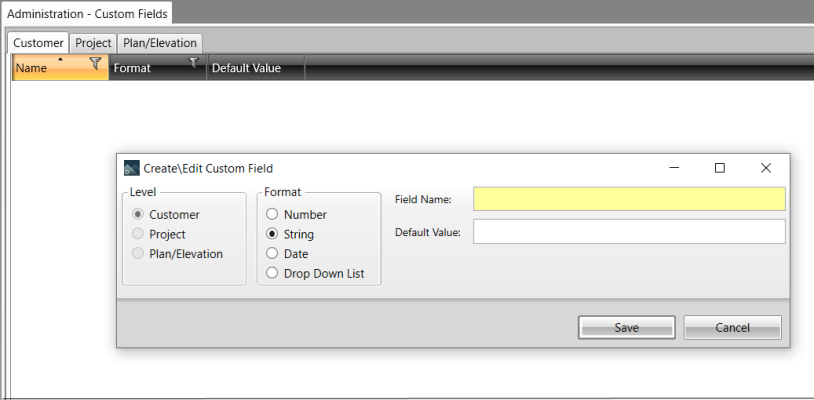
4. In the Format section, select a format type. Format types include:
-
Number - may include numbers and characters, (including decimal, comma, + and -).
-
Date - displays a field displays where you can enter a default date or select one from the calendar, if desired.
-
Drop Down List - displays a grid where you can define a drop down list of options.
5. Enter a name in the Field Name box; this is a required field.
 Note: For the Number, String, and Date formats, an additional field displays where you may enter a Default Value, if desired.
When Drop Down List is selected as the Format, additional options display at the bottom of the dialog.
6. Select Click here to add new item to add a blank line.
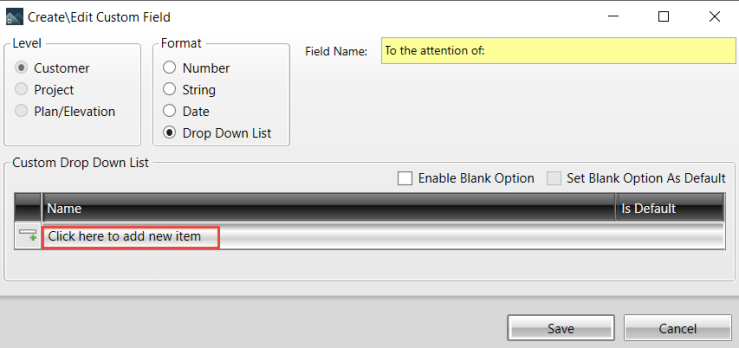
A blank line displays where you can enter information.
7. Enter information in the Name field and press Enter.
The information is added.
8. Repeat steps 6. and 7. to add additional information to the list.
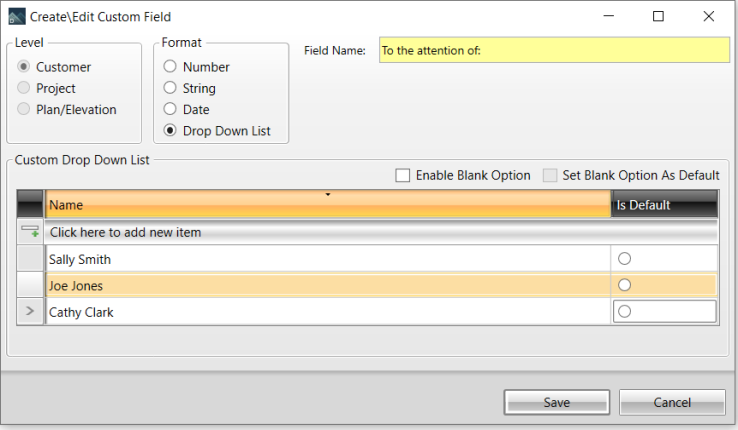
You must select one option as the default for the drop down list:
-
To display a blank line as the default, select Enable Blank Option and Set Blank Option As Default, or
-
Select Is Default next to one of the names to make that the default.
You can also choose to make a blank line an option in the drop down list by selecting Enable Blank Option without making it the default.
In the example shown below, Sally Smith was selected as the default.
When the drop down list displays on the Admin > Companies > Custom Fields page, Sally Smith displays as the default option; however, users may select a different name from the list. When a different name is selected from the drop down list and saved in this dialog, Sally Smith is no longer the default.
You can reorder the information displayed in the drop down list grid:
-
Click the Name column heading to sort the list alphabetically
-
Drag and drop names to reorder them in the list
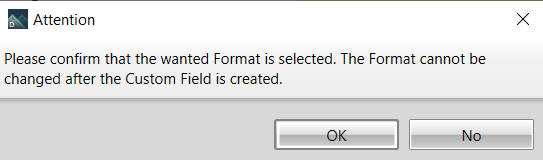
When you click Save on the Create\Edit Custom Field dialog, a warning displays. Ensure that the format you have selected is the desired format; you will not be able to change it after you create the Custom Field.