Purpose
Use this check box to identify components that are not managed by the layout application. This check box is automatically checked when:
- New truss is created using Director
- Truss is copied, even if the source truss is not user managed
- Truss is imported from a flat file, except when overriding a layout created truss. If the import is an override, match the flag on the user managed flag
- Truss is imported from another project as a single import, not as an import plan
Prerequisites
An existing user managed truss
Steps
To use the User Managed check box:
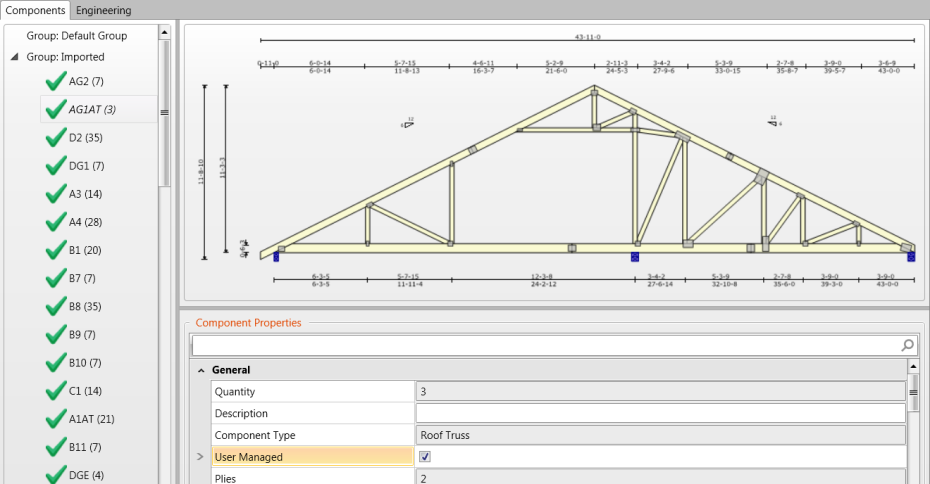
1. Select the Components tab for a project.
2. Select a component.
3. In the Component Properties > General section, check User Managed.
Following are basic flows for using the User Managed check box:
Importing Single Trusses from a Library
To import a single truss:
- Select the Components tab for a project.
- Click Import From File.

- Browse to locate the truss file.
- Select truss file to be imported. Use CTRL to select multiple truss files.
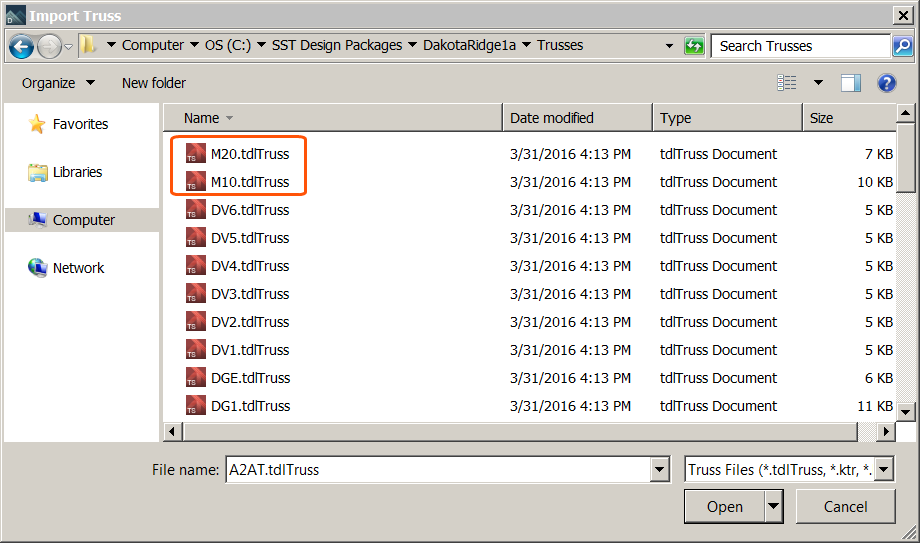
- Click Open.
- The Import From File command automatically checks the User Managed check box and the trusses display in italics.
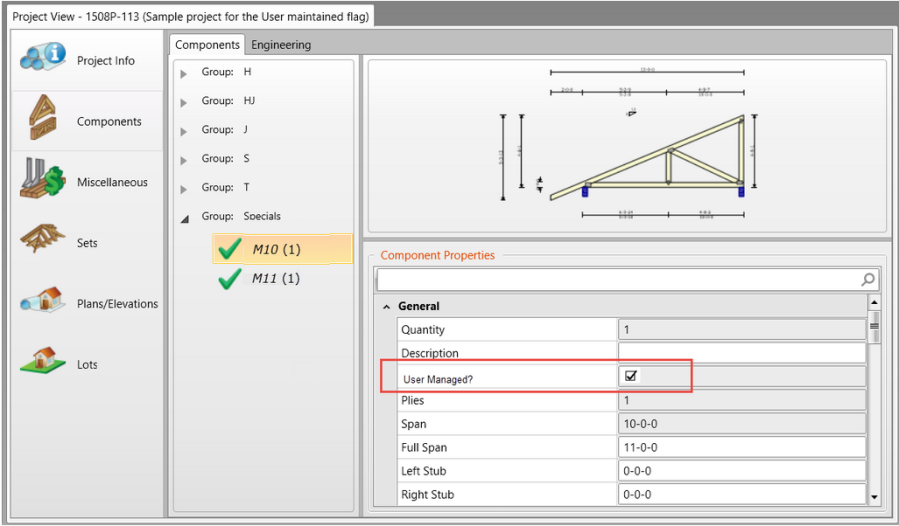
If an existing truss was created from the layout or if the user managed check box was unchecked manually, the state of the truss remains the same as the original truss.
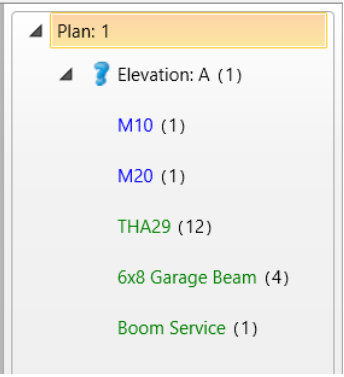
- Add the jack into the Elevation A (1) stack list.
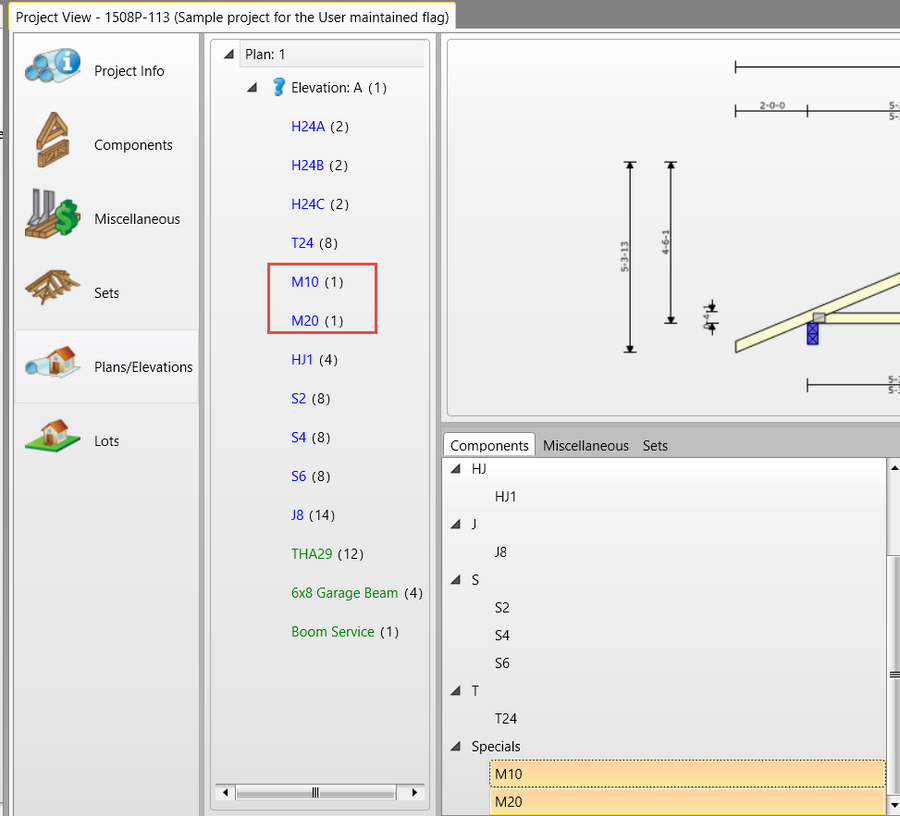
- Double Click the imported component to open Truss Studio or CS Build. The layout is saved and the application removes all items from the stacking list, except miscellaneous items and user managed trusses. The layout application also adds the stacking list at the top of the single and miscellaneous items.
Creating a Truss in Director
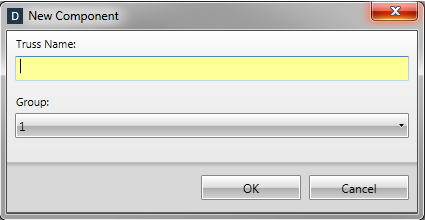
- From Components tab, click New Component.

- For Truss Name, type myTruss. When the truss is created through Director, the User Managed check box displays as checked.
- Add the truss to the Plan/Elevation stack list.
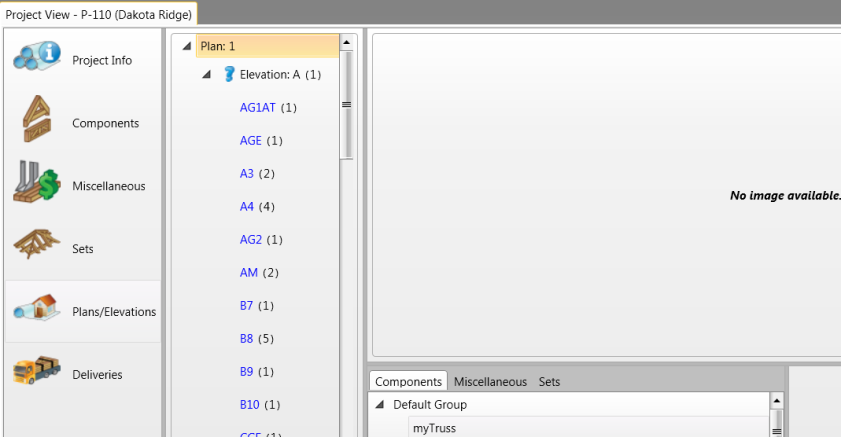
- Enter the layout application and save the truss. The layout application keeps all miscellaneous items and the myTruss is retained at the bottom of the stacking list.
Copying a Truss in Director
Select a truss from the Component list, and click Copy Component.

The Copy Component command always causes the User Managed checkbox to display as checked. If the trusses are added to the stacking list, and the layout is saved, the truss displays on the list and is not deleted.
Creating a Base Truss That is Not Used in Layout Application
Similar to steps outlined in Creating a Truss in Director. If a truss is added to the component list, other trusses can be based off of the original truss.
Creating a Truss that Can Later be Used in the Layout Application
- From Components tab, click New Component.
- For Truss Name, type CornerGirder-1.
- Uncheck the User Managed checkbox.
- Open the layout application and place a truss called CornerGirder-1.
- Next, add or remove the truss from the stacking list based on whether it was located on the layout.